

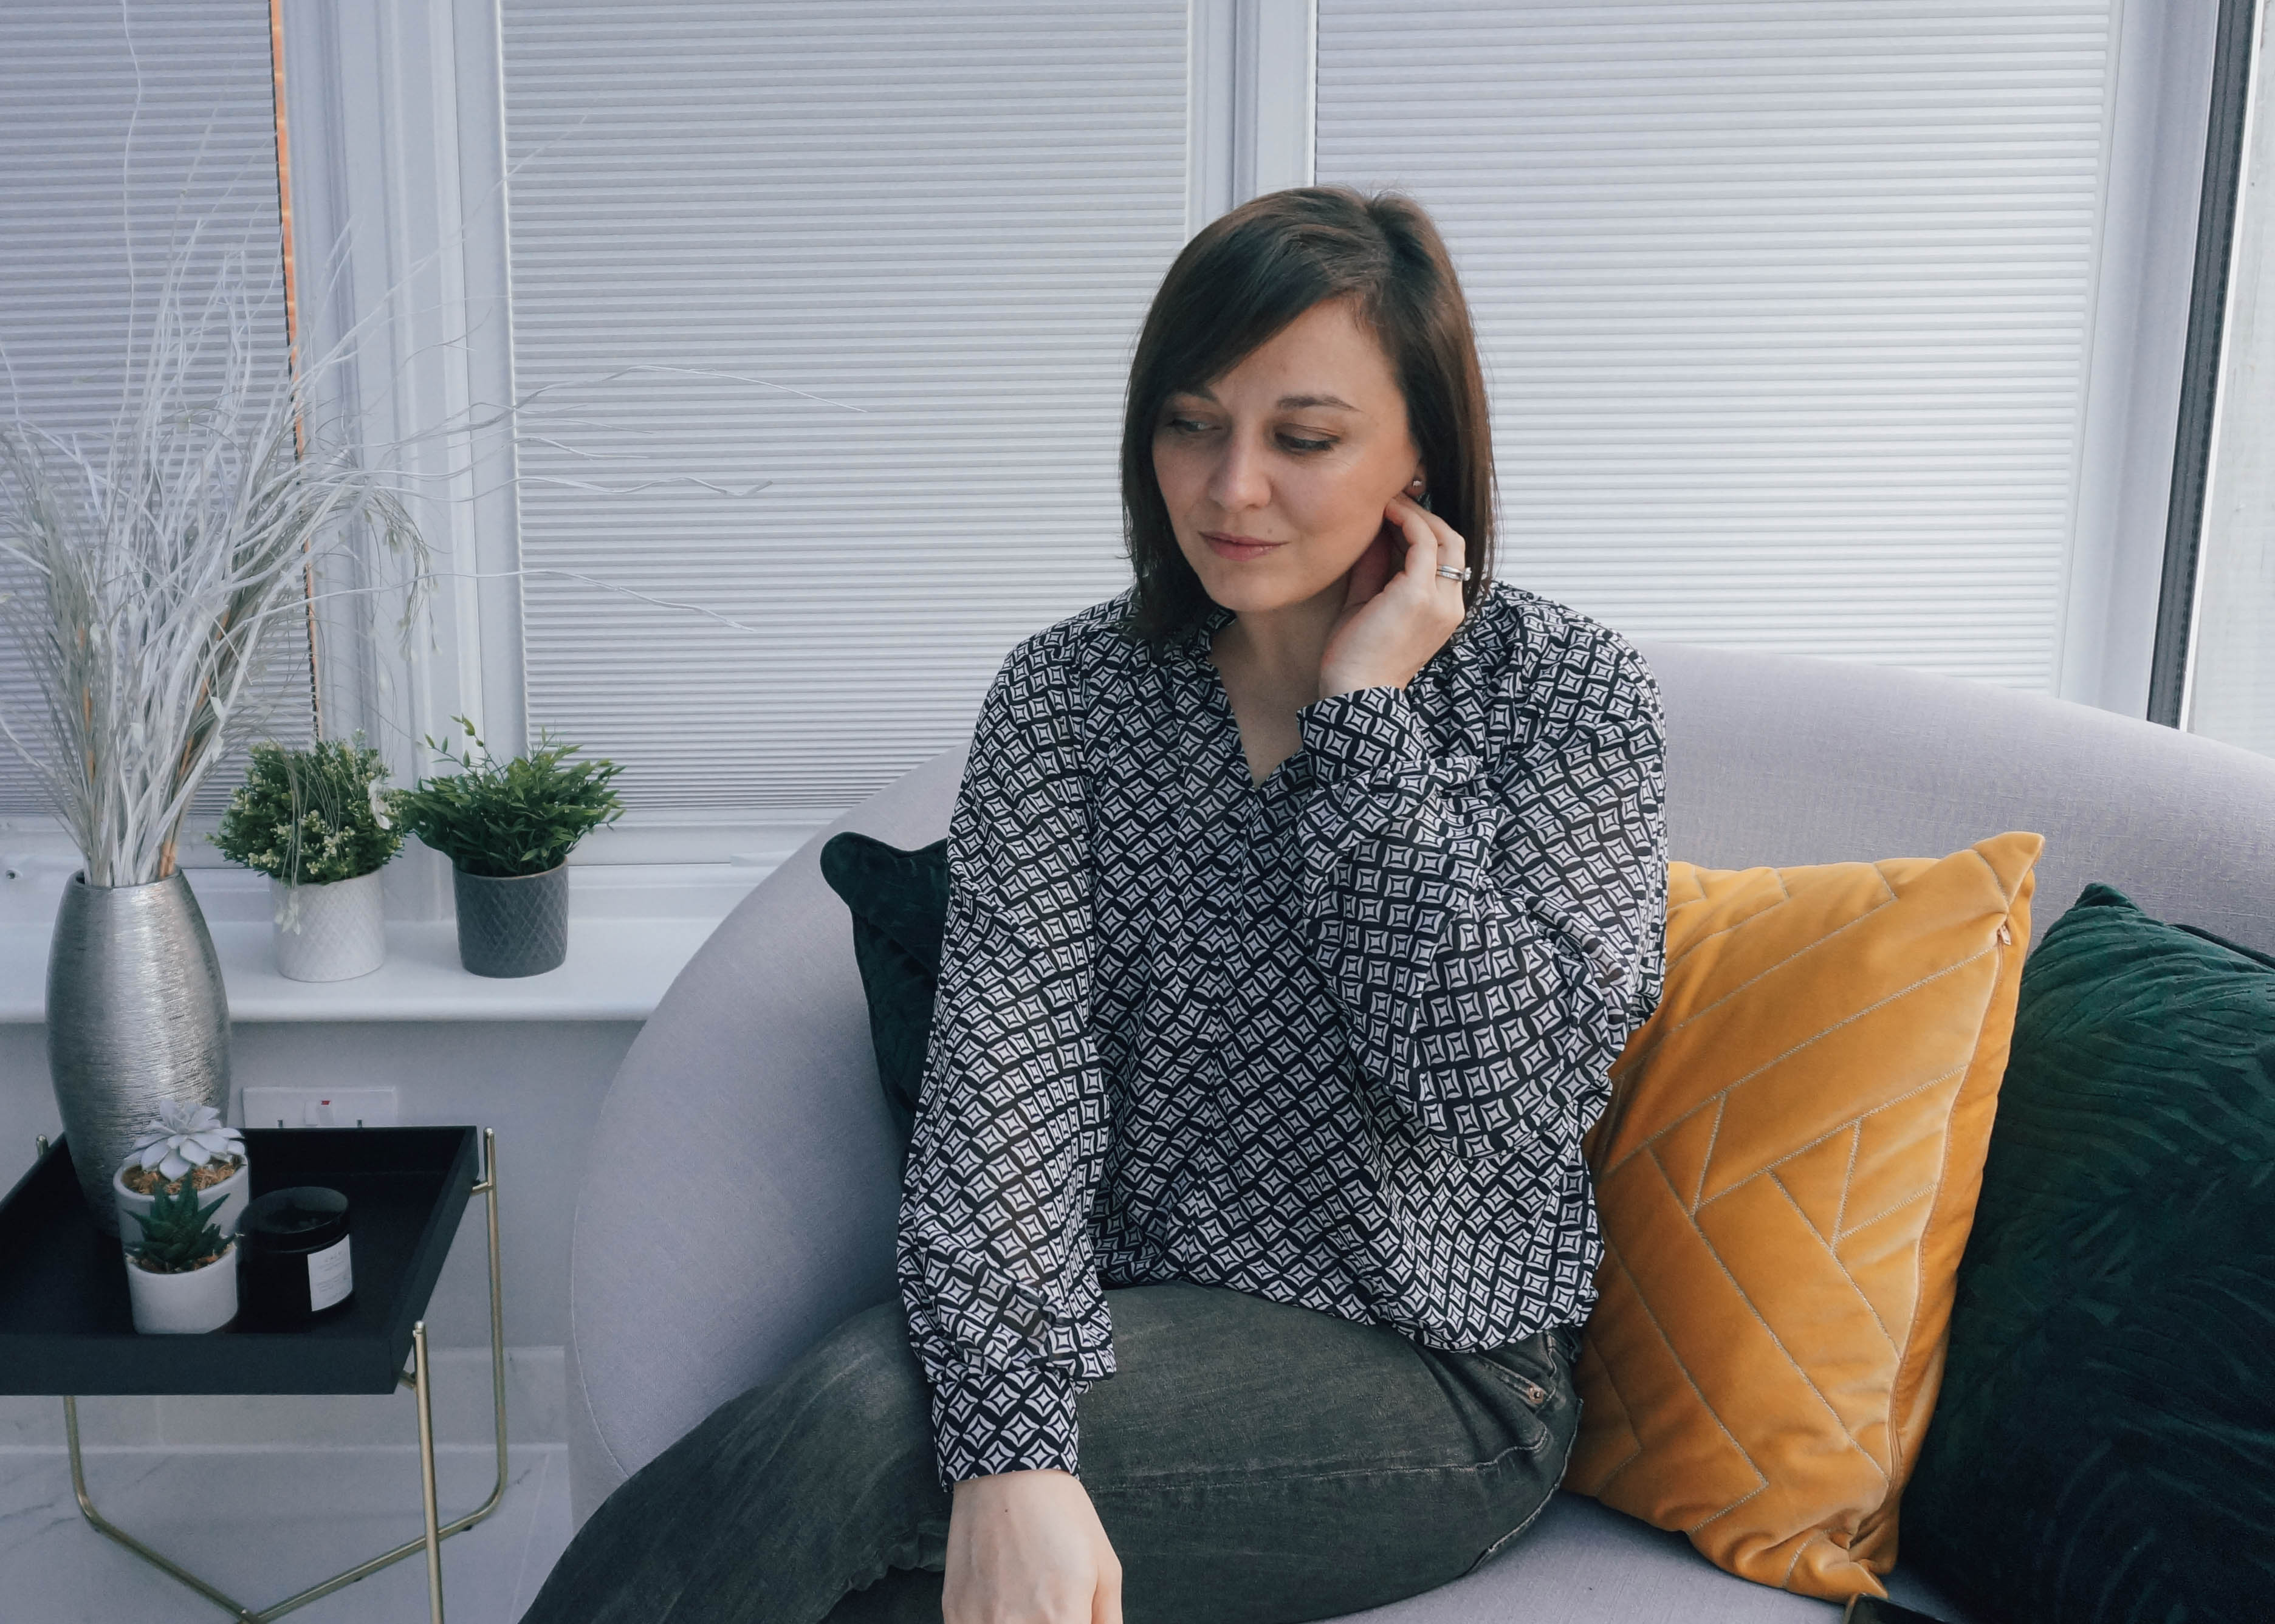
I've had this top on my make list for years....perhaps all the way back from the #wardrobebuilderproject! The paper pattern has been cut and ready for use with a number of fabrics that would work well, I've just never got round to it. So there it was, languishing in the pattern stash when I came across a lovely geometric polyester from Minerva and it felt like the right time to go for it. It was a gamble as I've always thought that cotton or rayon would be best, but it's worked out great. I've surprised myself with this pattern because I've always thought of it as a summer top, but in a lightweight fabric, could even find its way to New Years Eve!
Fabric
This fabric I used was gifted by minerva.com as part of their Brand Ambassadors programme. That said, it's incredibly good value at £4.99 per metre.
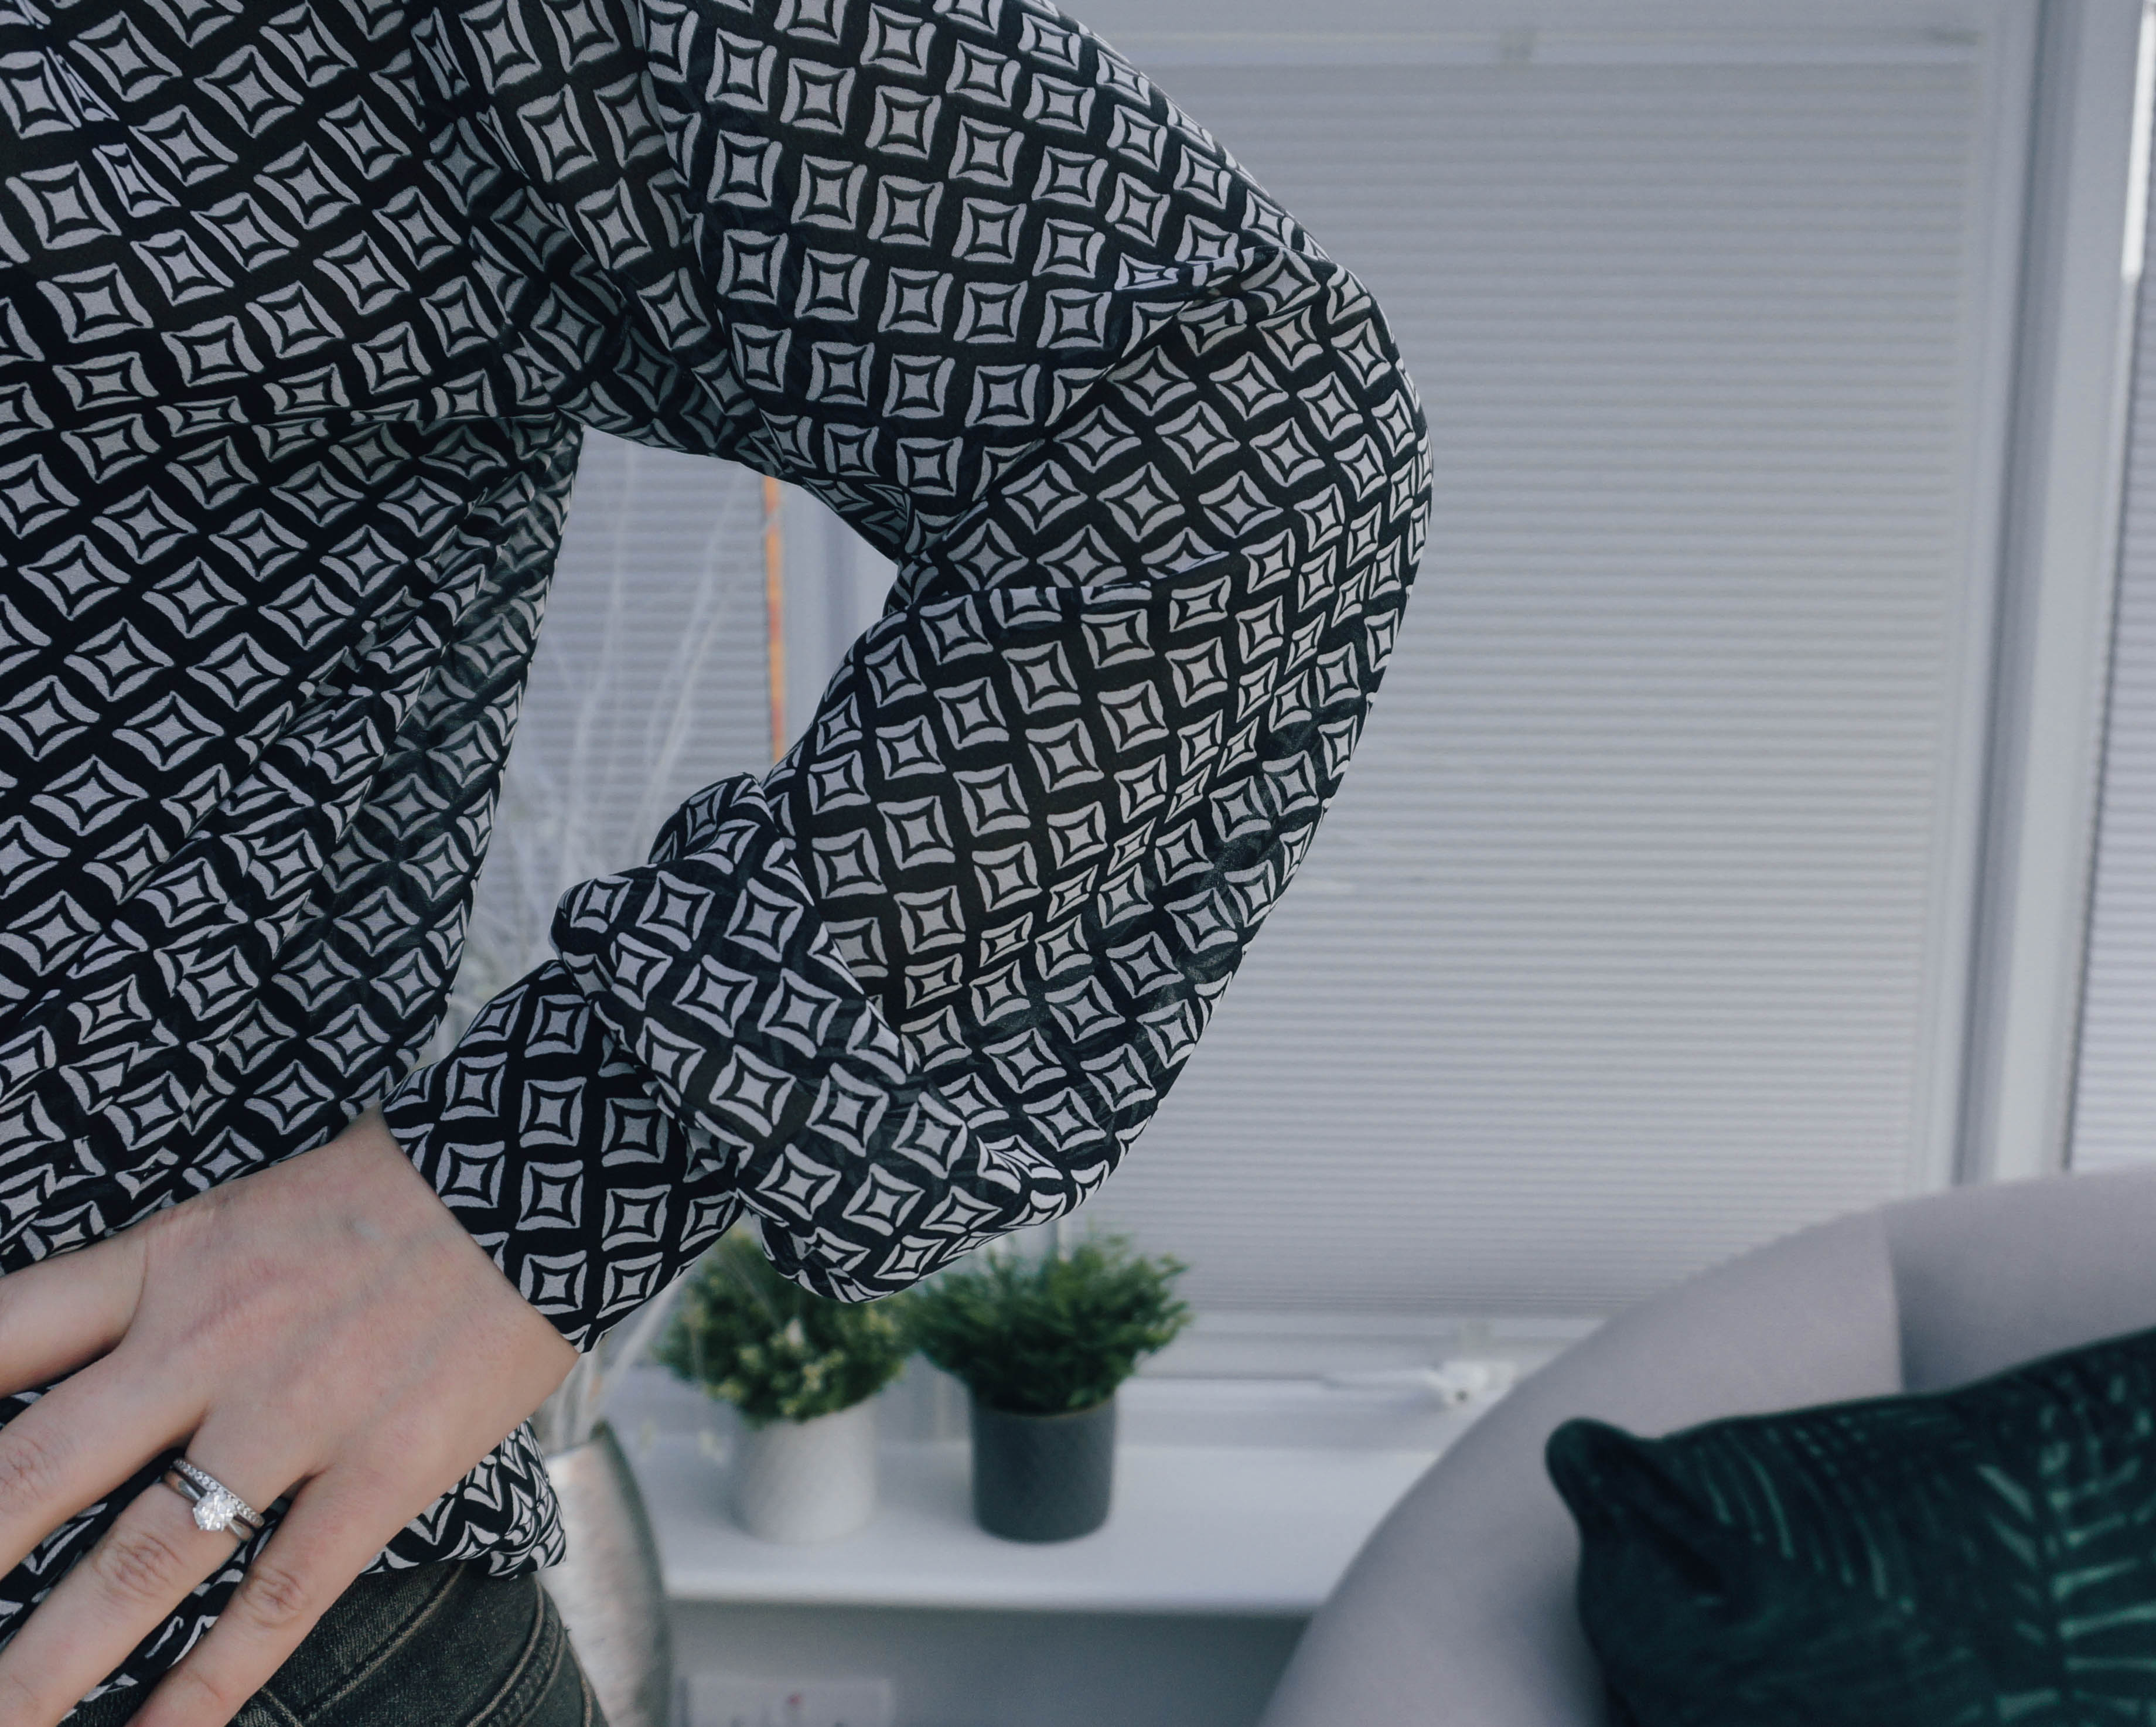
It's lightweight and is a little bit see through, with a simple repeating print. I liked how floaty it is and thought it would be perfect for a blouse. Extending to a dress with gathers would also work brilliantly (obviously it would need another layer underneath but it would have great twirl).
It is a sheer fabric so needed a little more care when cutting out. I didn't cut anything on the fold, laying out flat to make sure I could keep the print straight. It also took me at least an hour to get the right settings on my overlocker to finish the raw edges. I had considered French seaming the top, which is my go to technique with sheer fabrics, but have experienced success previously overlocking similar style fabrics so wanted to give it a go. This fabric doesn't fray as badly as some other sheers I've used and so far has been fine serged. It presses better than I thought it would as well, which was very handy!
Pattern and Instructions
The Matcha top is from Sew Liberated for $15 direct for a pdf from their site (prices vary massively from UK suppliers, depending on whether you want a paper or pdf version).
This pattern is all about the neckline! The fabric gathers gently into the stand up collar, and it has a loose fit in the bodice meaning that there are no darts required. The pattern pieces build up around epaulettes at the shoulder, drawing the eye to the neckline as the key feature. There are sleeveless and mid length sleeve options. I used the pattern for the sleeved version but altered them to be wrist length and tapered (more on that below).

As far as the pattern goes, it's a simple construction and the pattern is very clear. There are diagrams and handy tips as you go through which help to get a good final finish (though I didn't remember to steam the collar as indicated at the beginning!). I agree with their 'confident beginner' labelling. If I hadn't taken forever cutting out and finding serger tension, or making more complicated sleeves, it would have taken a day.
You are meant to decide on the size you need based on the width of your shoulders - if you base it on body or fitted measurements as usual it's not as good a measure because there's a lot of ease in the pattern. I'm not sure it worked out brilliantly for me though as it doesn't feel like it sits as well as it should do around here and feels like it needs pulling up or down. To hang loose, the length of the pattern pieces are fine but for tucking in, I'd like it a bit longer.
 Alterations
The sleeves on the Matcha top are a bit longer than elbow length and are finished with a simple hem. I think this is perfect for a casual top but wanted something a little more formal so had a small play around.
I measured from my shoulder to where I wanted the sleeves to end and added seam allowance at each end then simply extended the pattern from where it's meant to end to this length. Because the sleeves have lots of positive ease, there isn't a worry about them tapering to be too narrow to fit, and I did keep the tapering angle in there. They were constructed and attached to the shoulders as per the pattern instructions, just changing where there would be a cuff. To be able to open the cuff I couldn't join the underam seam all the way to the end, leaving about 1.5 inches unstitched. These last 1.5 inches were folded under by 1.5cm and pressed, then stitched into place in a 'V' from the cuff end down and back out again. I also ran gathering stitches along the ends of the sleeves, ready for the cuffs.
I drafted the cuff by measuring how long and wide I wanted it to be. I doubled the depth of the cuff because I wanted it turned under, and added an extra 2cm for one side to overlap the other (for buttons) then added seam allowance to each side.
(It was basically a 24 x 12 cm rectangle)
I interfaced half of the rectangle so that the button holes would stitch neatly later. I also pressed under the long edge of the non interfaced half ready for later.
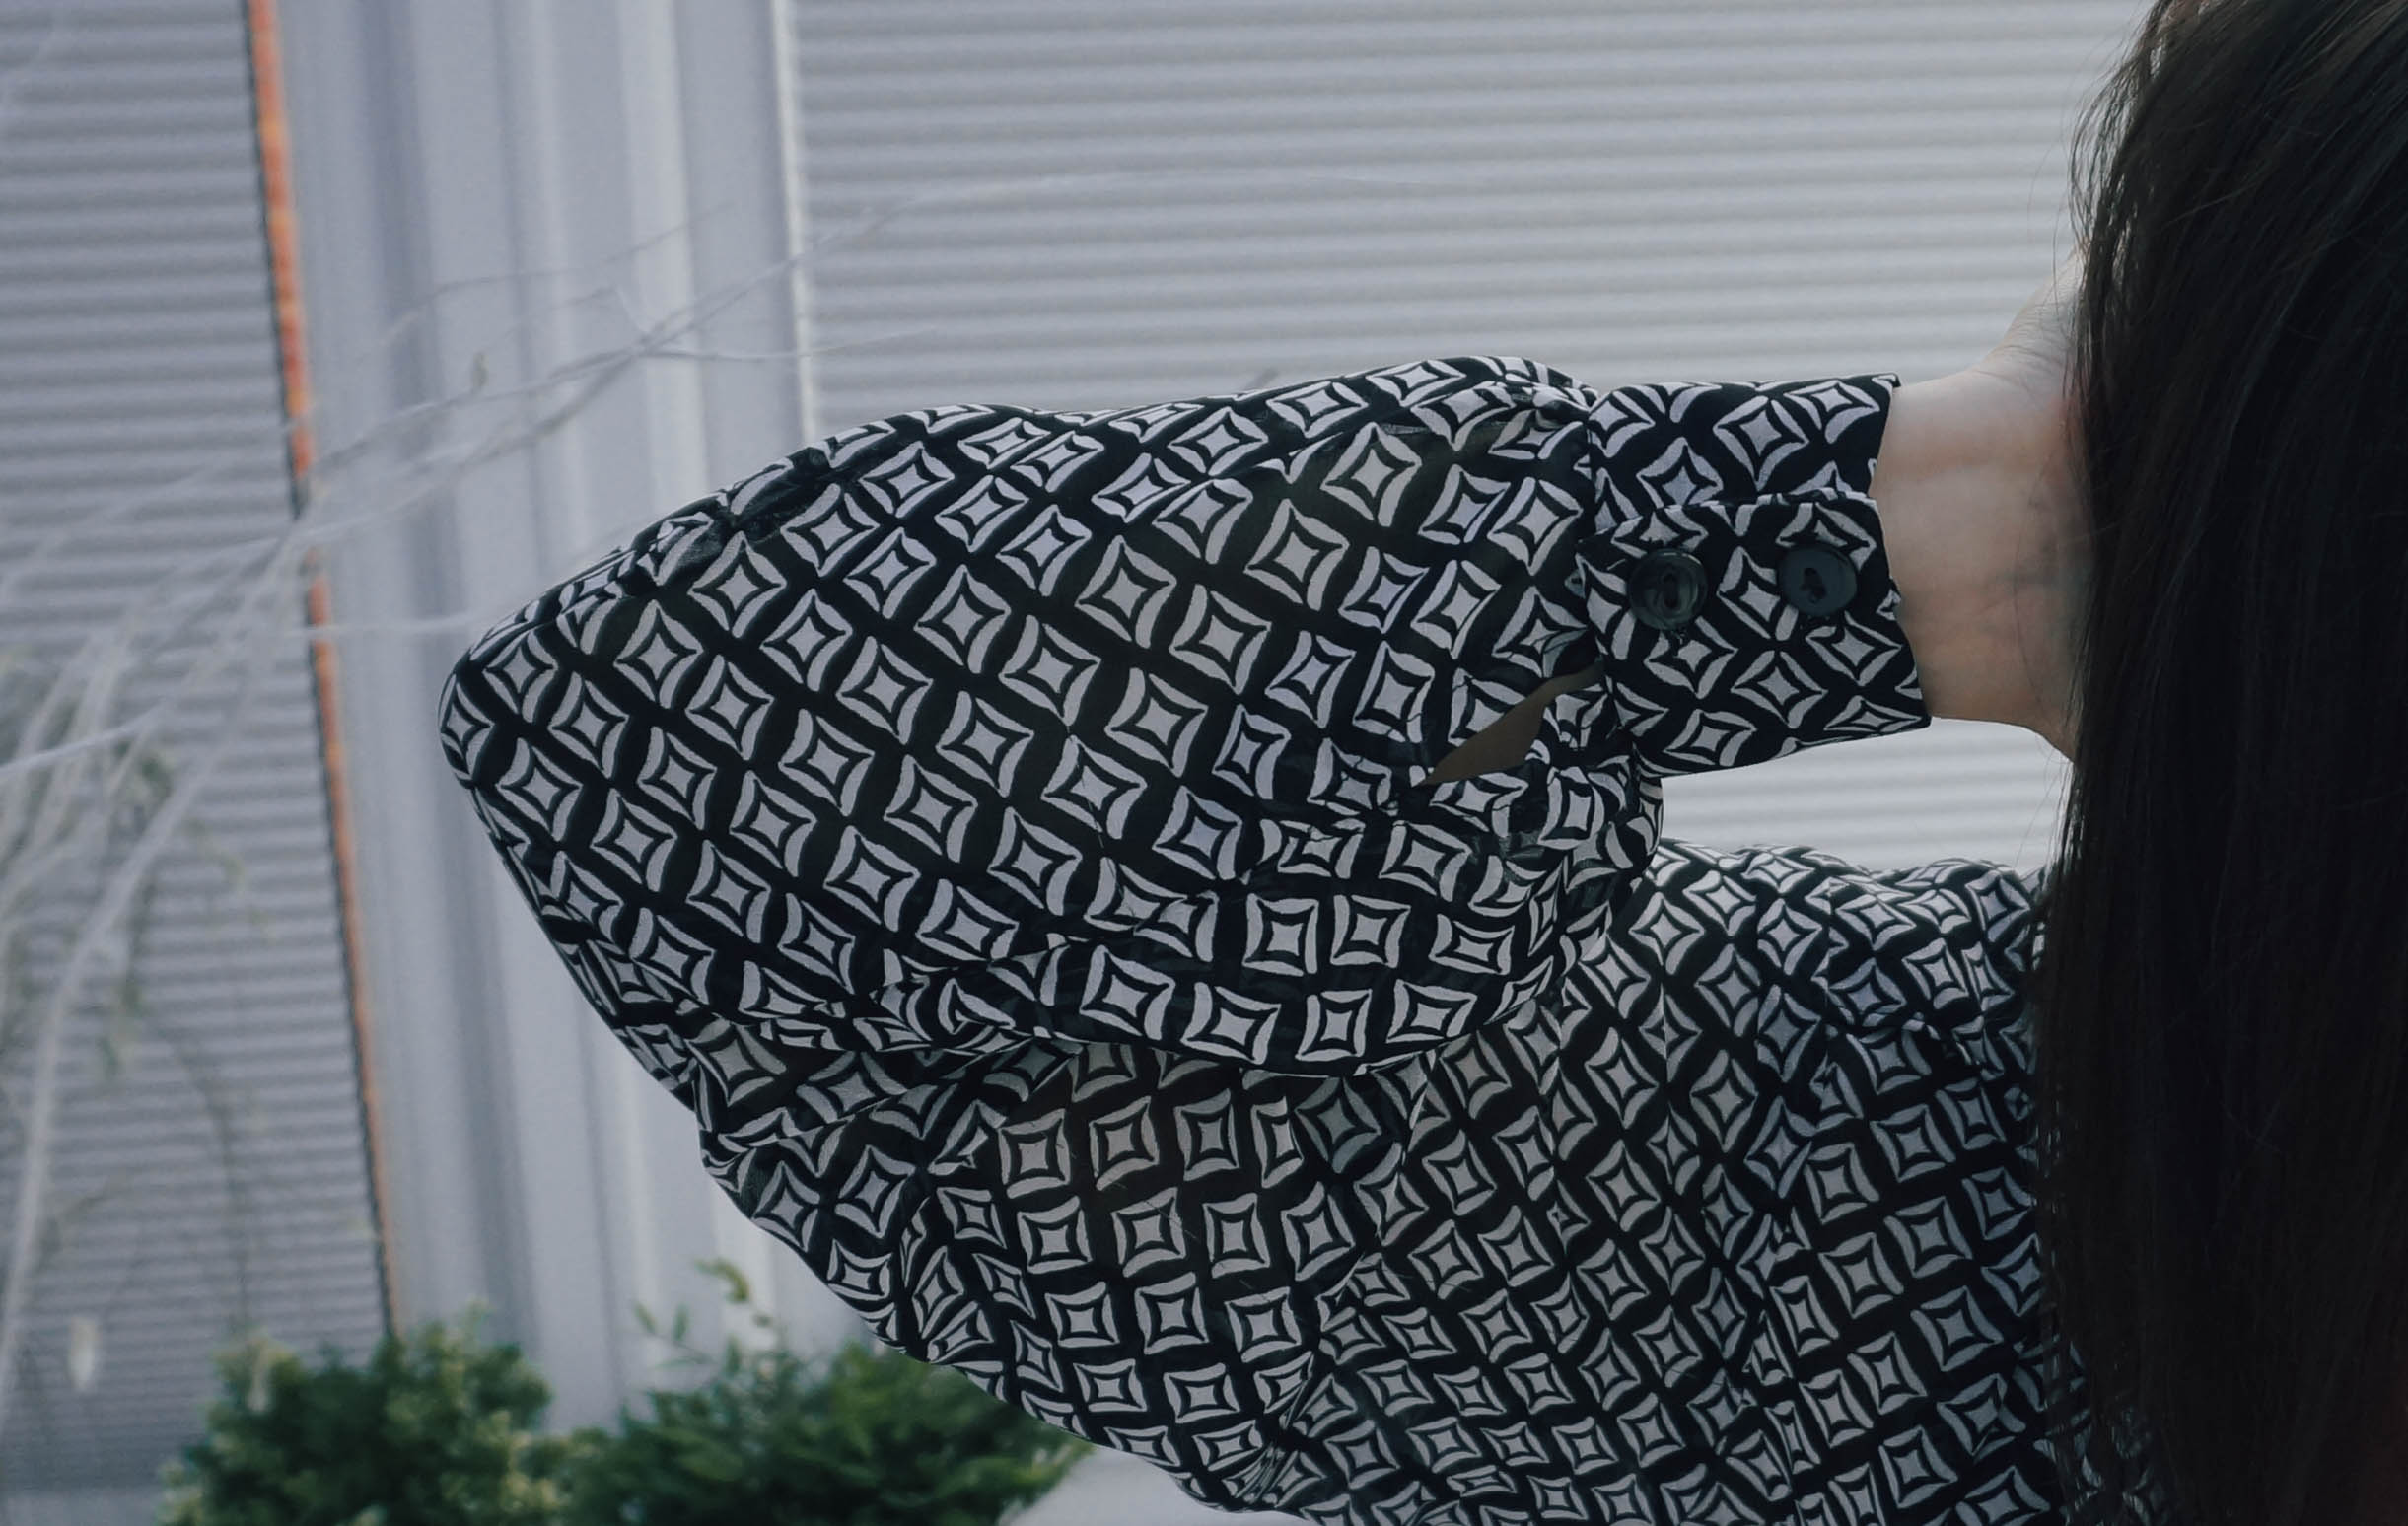
Finally, the buttonholes and buttons went in. Easy after figuring the rest of that! (especially as I used the machine to sew the buttons on.)


No comments:
Post a Comment