

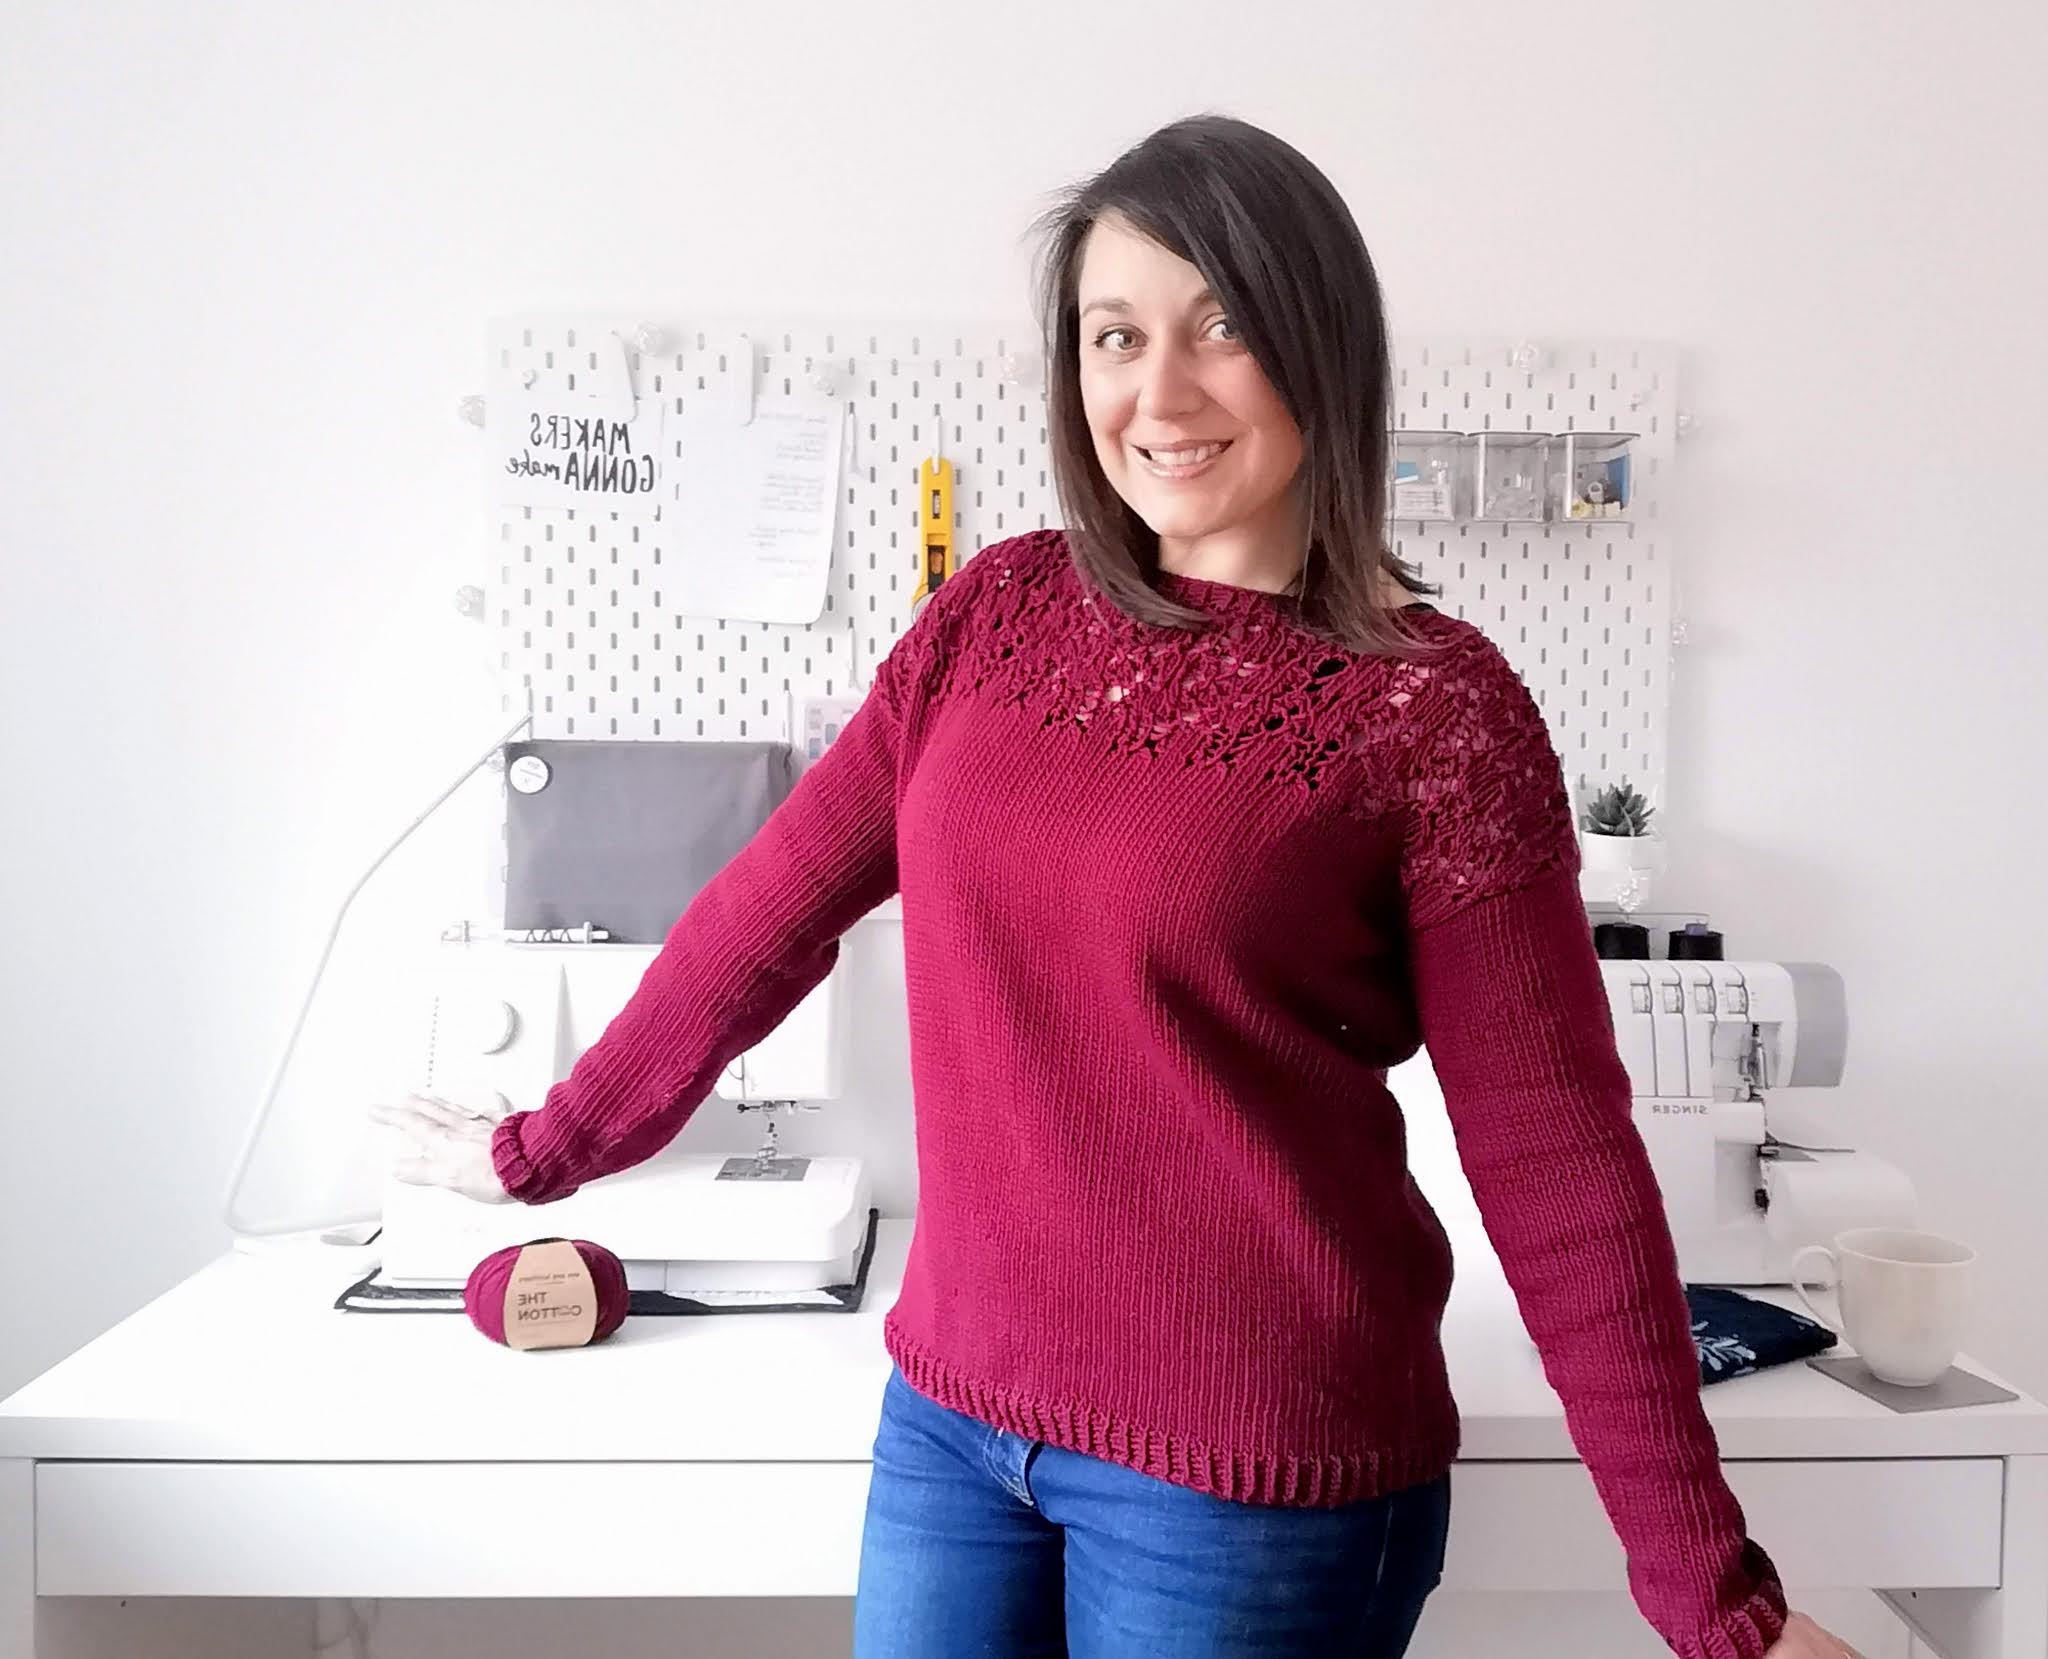
I started knitting with kits from We Are Knitters because I knew that in that one pack, I would have all the right tools for making the project I had selected. They have a range of kits available, ranging in difficulty from the beginner level I had picked to other advanced levels that I liked the look of. I had liked the Stomp Sweater from the moment I first looked at the site and bought it fairly soon after my first kits, but it's taken a while for me to get round to making it. One of the reasons was that I was reticent to knit a garment that was in pieces as I prefer to knit in the round, but now I've figured out how to adapt the pattern and I'm really glad I did!

If you would like an overview of all the things you get in a kit, or what it's like for a beginner to try, check out my previous post here, which focuses more on this.
Materials
For this kit, I already had needles so could order just the yarn and pattern from their website. I ordered the kit for the medium size (there is a size guide you can use to determine which one you need) which came to £60. If you sign up to their newsletters you can often be sent discounts, up to 35% off, which can bring down the price. It's free delivery after £70 as well, so I have bought more than one kit on a discount to take advantage of as many offers as possible! The medium size kit comes with 5 100g skeins of Pima Cotton yarn, which is a DK weight. The cotton yarn is easy to work with and has a nice sheen to it. It didn't grow much after blocking - I could have stretched it more if I'd tried but didn't need to. So far, it hasn't shown sign of pilling.
Needles: I switched to Chiao Goo circular needles, in the same size as the ones which would have come with the kit. I achieved the same gauge still.
Pattern and Instructions
The pattern booklet has schematics with finished measurements. Using these I determined that I would be better knitting the size Small rather than the Medium as there is a lot of positive ease in the pattern (which has turned out to fit). The booklet also has a stitch glossary explaining all the stitches required. The only one that I felt could have been clearer was for M1. I struggled with this stitch the first time I sued it in a different pattern and the instructions here might have led to a complication as well. It's written as though it's the first time you might have used the stitch, but really you'd have to have made it before to do it well. (It is an advanced pattern, so I suppose you should be able to do this).
The written instructions are very clear and easy to follow, with enough detail in the schematics to help. There are charted instructions available as well, but I used the written ones. When it came to the lace work, I have to admit that mine has not matched the instructions. There are a lot of increases and decreases in order to achieve the lace panel and it can be easy to miss just one stitch, which then throws out the pattern. It isn't terribly difficult (so I don't really think you need to be 'advanced' but clearly I didn't manage it. The front and the back are the same, so you can use whichever turned out best as the front (mine are pretty interchangeable, as neither is perfect).

Alterations
Obviously the main one is altering the pattern to be knit in the round!
Firstly, I calculated how many stitches I would need for both the front and the back together. I then had to subtract the extra stitch on each side of the panel that is used for seaming at the end. (So front, plus back, minus 4, equals the cast on for knitting in the round). I was careful to place markers at the side seams for later,
I had to work flat again when it came to separating for the armholes. I started this around 10 rows before the lace panel was due to begin, working only one half of the stitches. I knitted across this first half to the side seam marker, then used Elizabeth Zimmerman's method to create a phoney side seam at this point. I thought it was important to do this as by knitting in the round I had removed the structure that the side seams give, so put this in to help. When I returned to purl back across I also added a stitch in again at each end, to take the place of the ones I missed out when casting on. As I was going back to working flat, these would be needed for seaming later. I then continued with the rest of the panel and repeated the same for the back, inserting the phoney seam at the other side marker. When it came to seaming the front and back together, I used fewer stitches than specified as I was worried the neck hole would be too small for my head! (plus I prefer the boat neck style).

I also knit the sleeves in the round as well. The cast on was an odd number of stitches so I only removed one instead of two for seaming, as otherwise I wouldn't have the even number required for the cuff ribbing. I followed the instructions knitting in the round, but when it came to binding off, I found that my sleeve wasn't long enough. I needed to add in another 2 increase rounds to reach the correct length. At first I thought that my row gauge must have been out, but I know the stitch gauge was correct and it would have been too tight at the top of the arm otherwise. As it was, the final number of stitches was more than it should have been, but still matched up well to the drop sleeve panel.


No comments:
Post a Comment