I've wanted to make one of these for a while now and have been looking around for a design that I liked. I wanted to find one that was quite traditional and liked the colours in this panel, especially the gold accents. As part of the Minerva Makers brand ambassador programme I was able to pick this panel and what I've written here is a bit of a tutorial if you happen across a panel as well.
Advent panels come in a range of designs, but mainly all feature a front design with spaces for pockets which are printed separately , all on the one large panel. These are cut and sewn on by hand and can be added to according to taste. I lined mine but you can add sequins or trim...whatever you fancy! The panels are made from cotton and will give you a good sized calendar that can come out again and again over the years with the option of adding in different treats each time. Not only are these a sustainable, reusable option for advent, but they provide something much more unique and personalised. I think it's a great gift, especially if you are planning on also gifting the surprises for the pockets each year too.
What you'll need:
My advent panel came from Minerva.com and cost £12.99
Wadding, to match the main front panel plus seam allowance (I used left overs from a quilting project)
Quilting cotton for backing. You will need one piece the same size as the wadding, plus extra for a mounting channel. (Again, mine is from stash, a freebie at a quilting show. It wasn't wide enough so I sewed it together with some other strips to make a piece large enough.)
Quilting needle
Anything else you want to add....sequins, trim, lining
> optional - I used a walking foot when I stitched mine together and it kept all the layers neat.
How to sew it together:
1. Cut out all the pockets as neatly as possible. You can also cut out the main panel at this point, making sure to leave a 1.5cm seam allowance around the edge of the border.
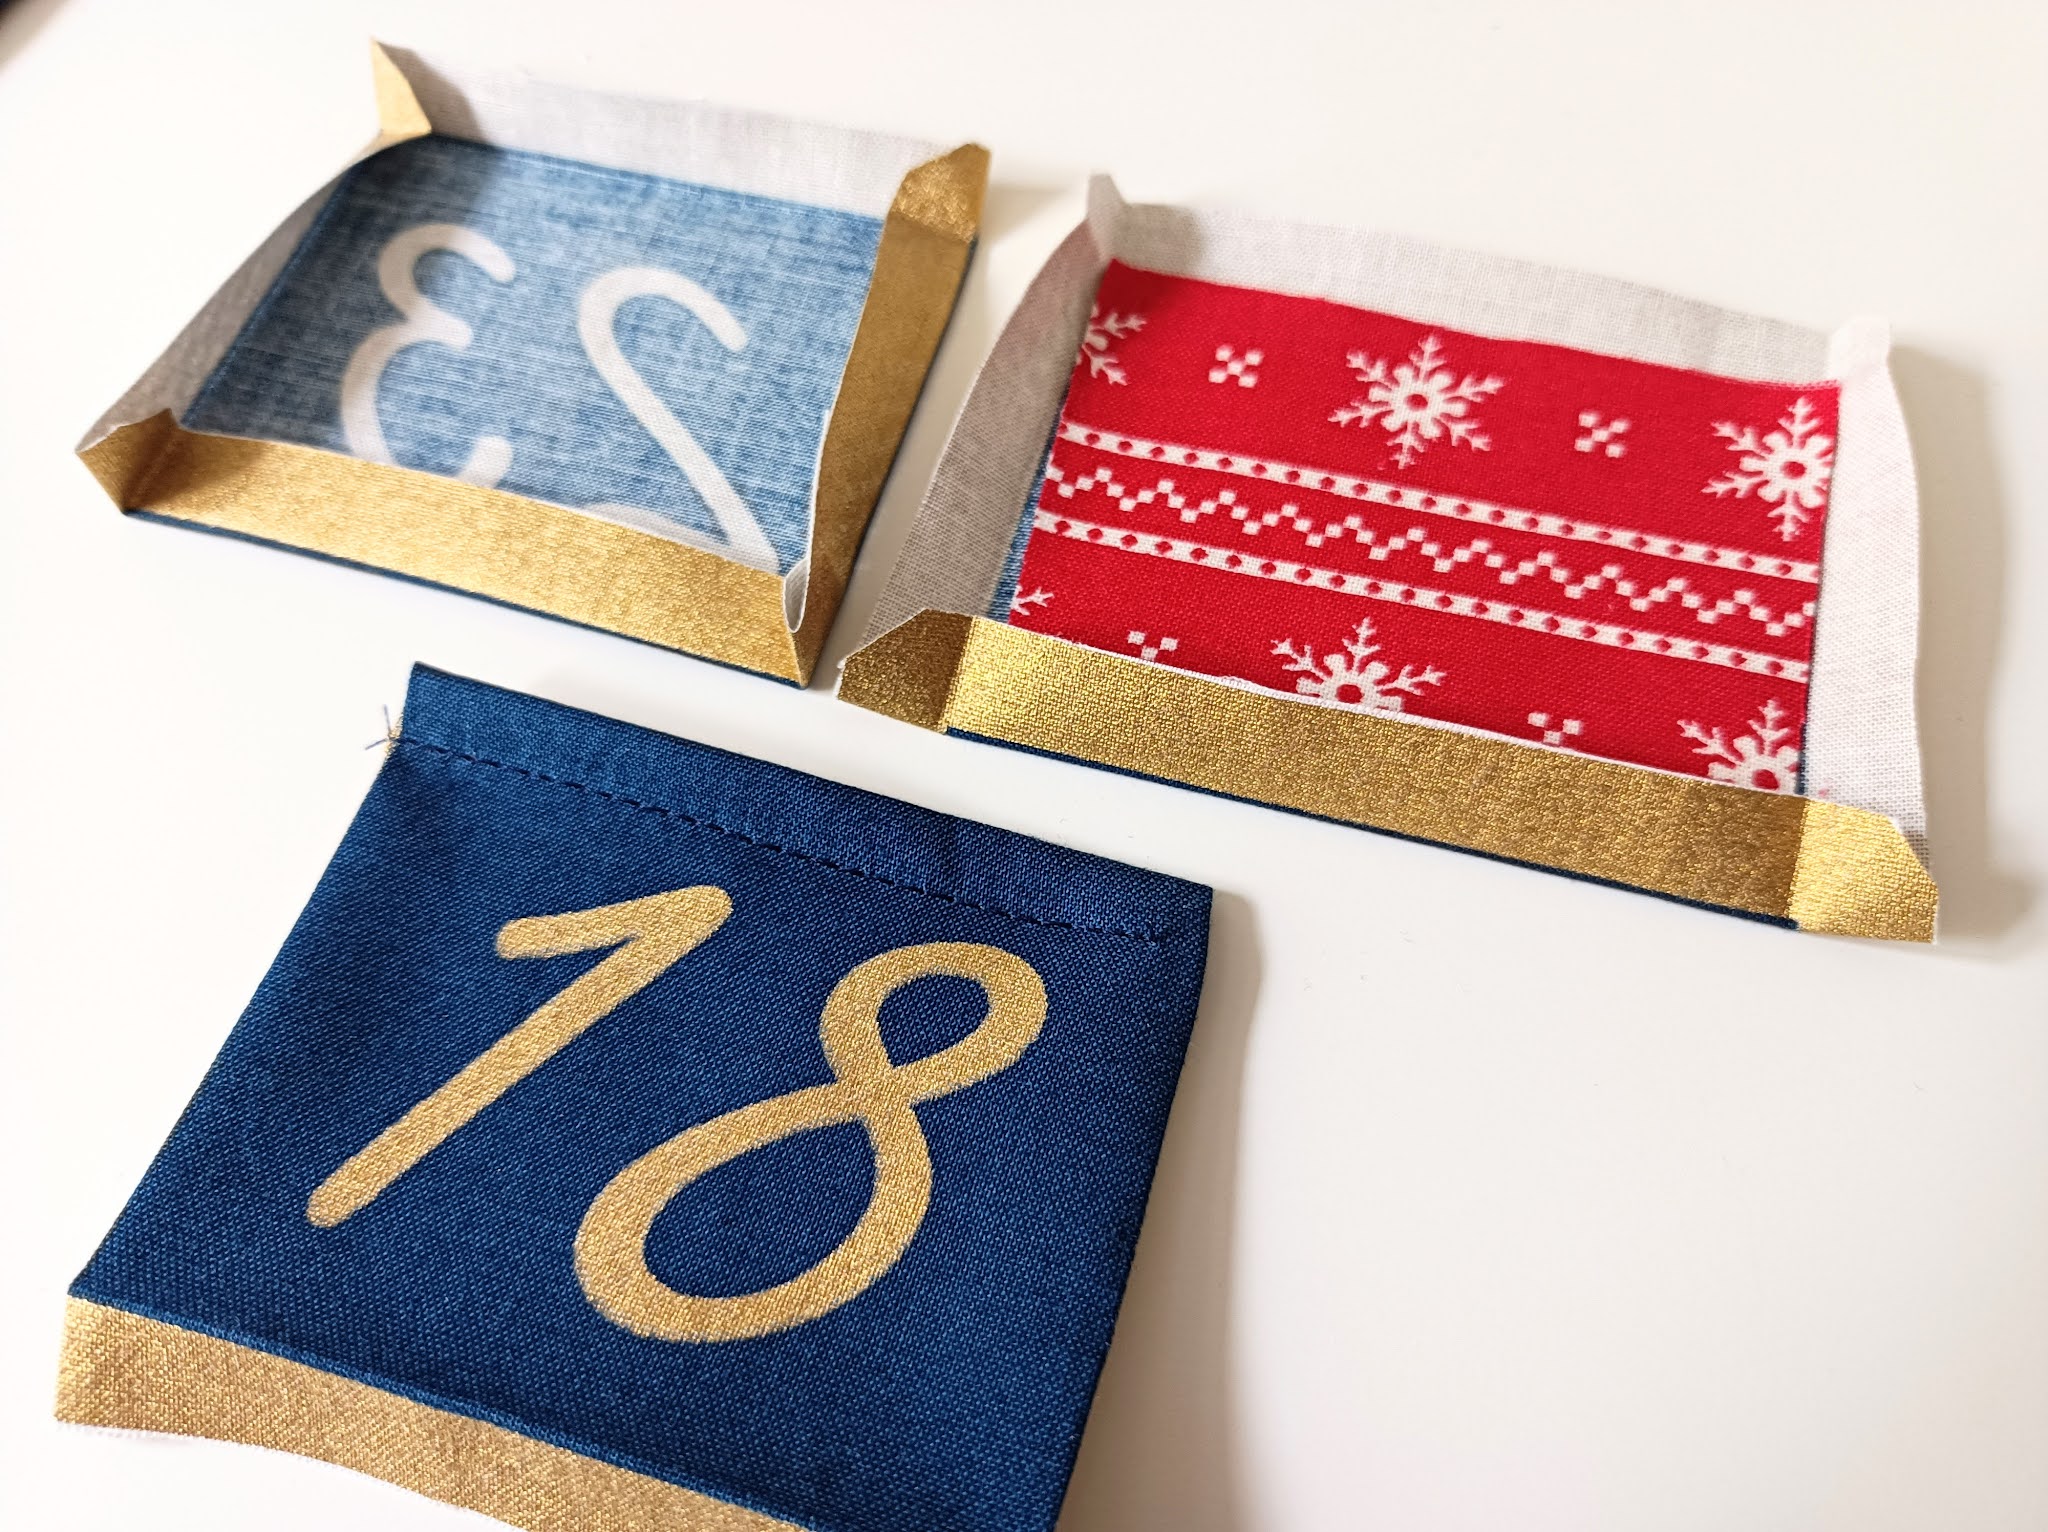
2. Press the pocket edges under, starting with the top of the pocket. I found it worked best to press the top and bottom first, then the sides.
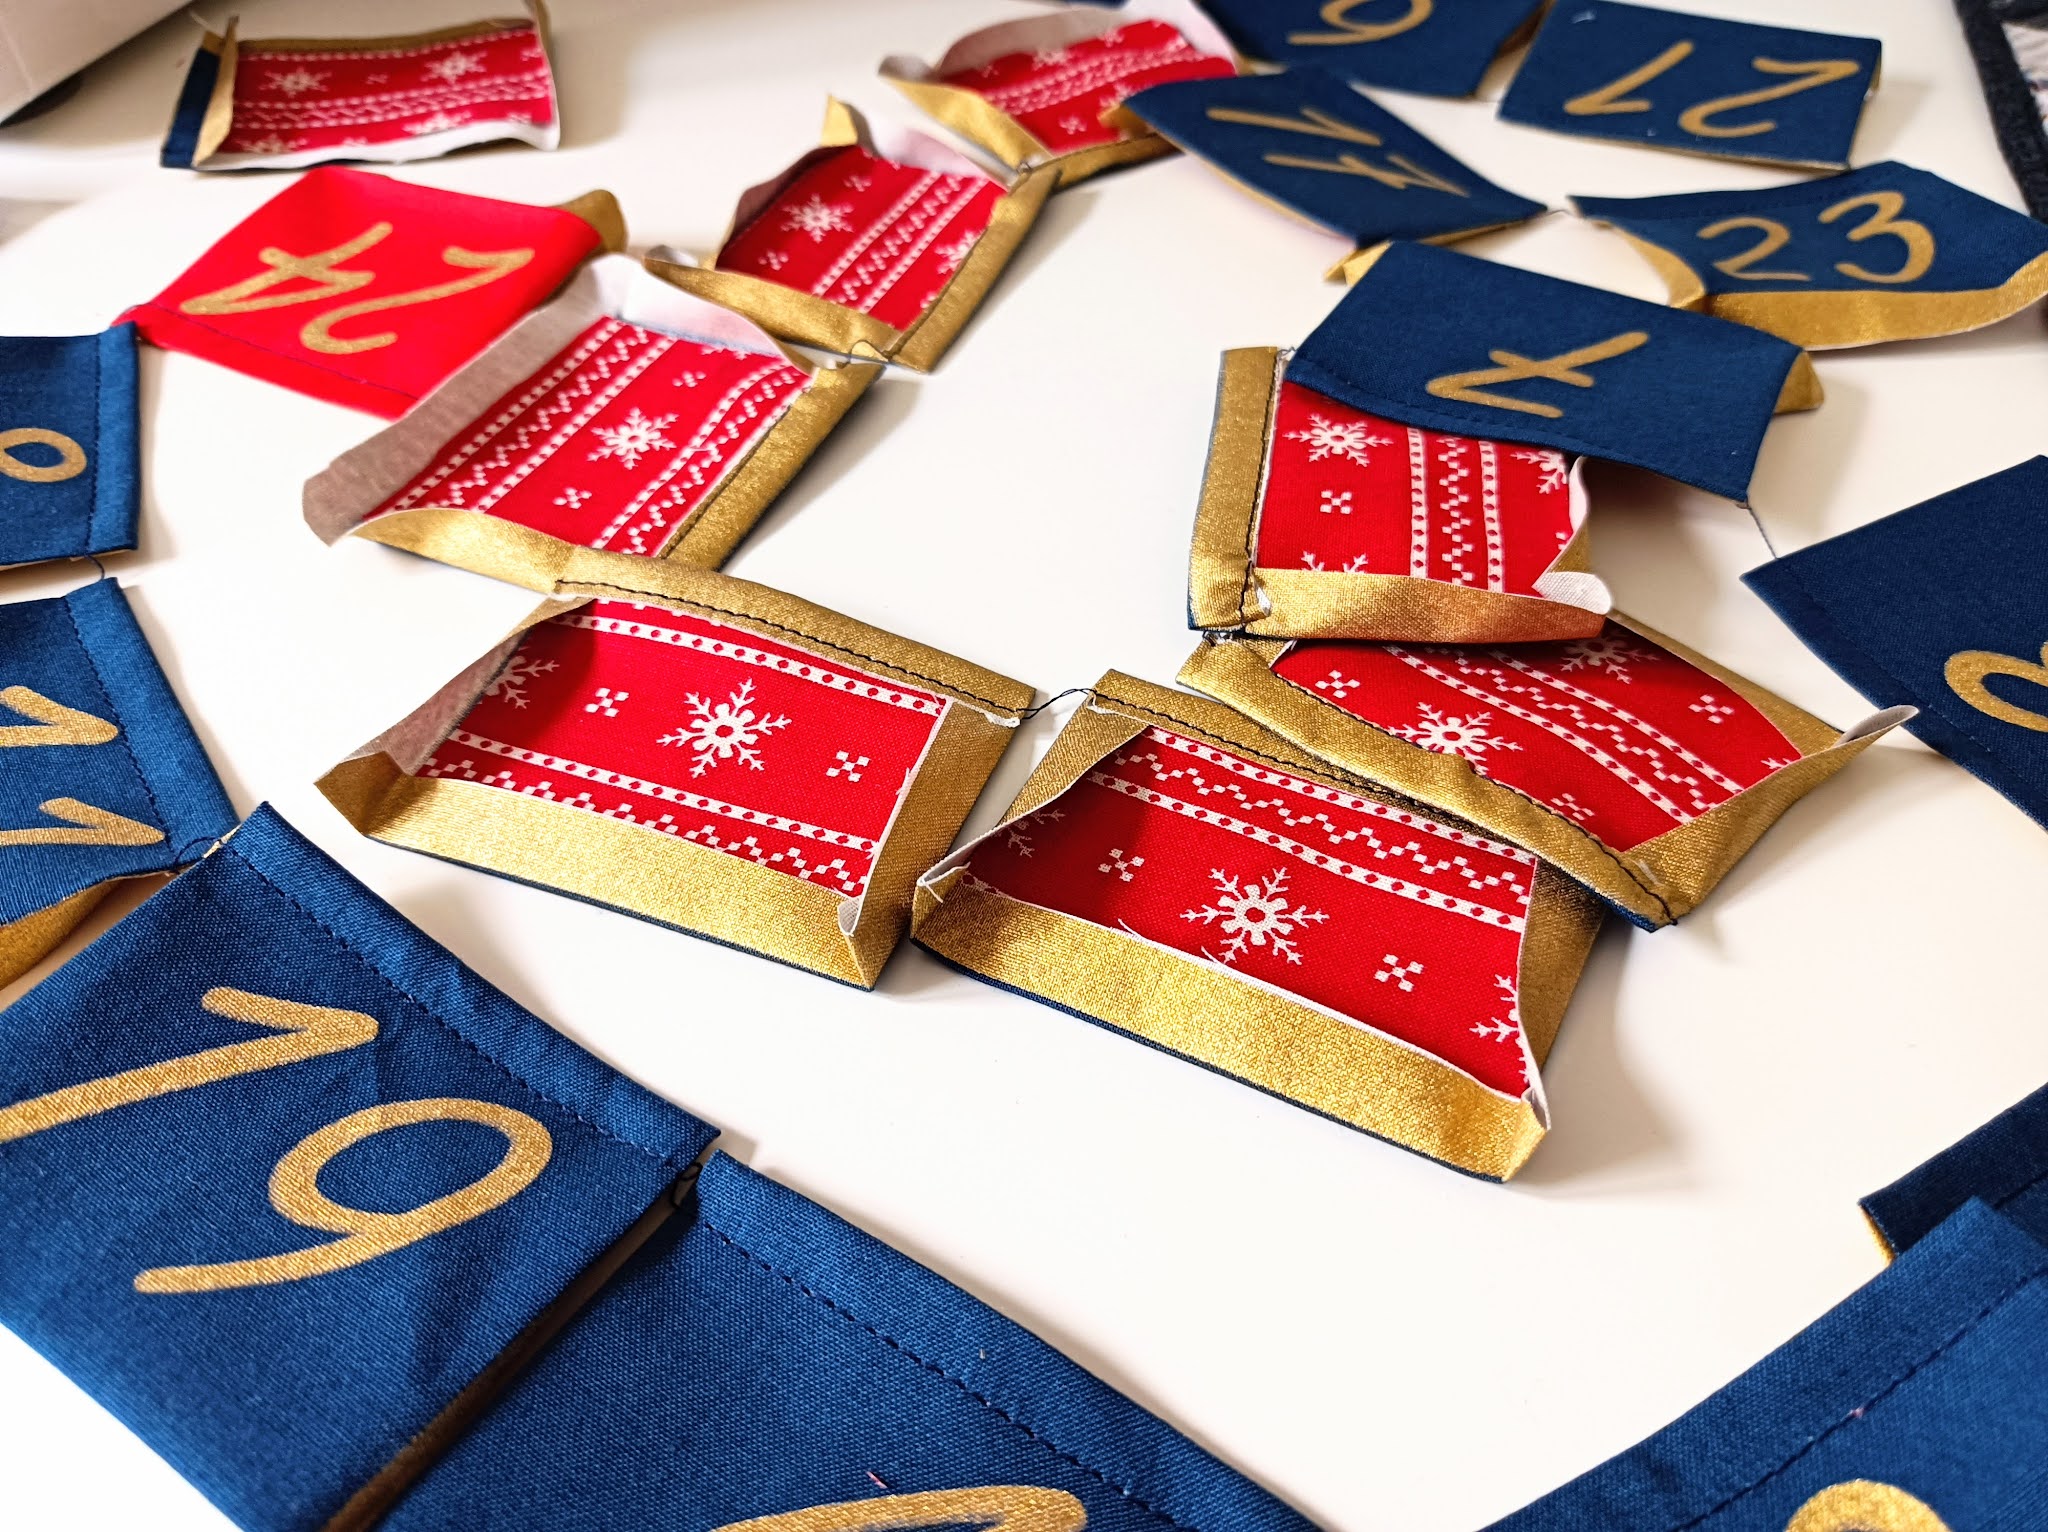
3. Detailing: This is the time to add any extra details such as sequins. I lined my pockets using some Christmas themed fabric that I had cut to the same size as the main part of the pocket. I simply placed these on the inside, as the rest of the folding and topstitching steps would secure the lining in place later.
4. Topstitch the top fold down. For speed, these can be sewn in one long chain, with a few stitches in between each pocket, rather than snipping each off one at a time. Press.
5. Pin the pockets in place, lining up with the print on the main panel.
6. Topstitch around the sides and bottom of the pockets, being careful to secure well at the start and end as this top part of the pocket will get more strain in use. On some panels you might have a group of pockets which you need to separate with topstiching in between.
7. Create mounting channel.
I added a channel right at the top of the back piece for a plastic rod to sit in, making it easier to hang. This rectangle I cut was the width of the main panel (plus 4 cm) by 7cm. I folded the short edges under twice, then pressed and topstitched these in place. I also stitched 2 buttonholes at each end of the channel for cord to be passed through for an extra hanging option. Then the long edges were stitched right sides together and turned out.
Topstitch the channel in place at the top of the backing fabric. It won't reach the edges because there is still seam allowance on the backing to be used.
8. Stitch layers together. I used a remnant of quilting wadding that I had left over from other projects for the middle layer. I cut it to the same size as the front panel, with a seam allowance. I layered the three panels with the wadding on the bottom, then placed the back panel right side up and the front panel right side down on top. Stitch all the way around the edge of the border on the main panel leaving a small hole at the bottom to turn it all through, ending up with the wadding in between the front and back panels. Slip stitched the hole shut and give everything a good press.


No comments:
Post a Comment